
How Stainless Steel Sculptures Are Made: From Sketch to Installation
September 18, 2026
A large stainless steel sculpture is not a single act of making. It is a sequence of decisions, each one locking in the ones that follow — which is why understanding how stainless steel sculptures are made is really about knowing what gets decided, and when. A two-metre piece can move from first brief to installed landmark in six to eight weeks. A six-metre artwork on an exposed plaza, with a client committee and stamped foundation drawings, routinely takes four to six months. Both are normal.
How stainless steel sculptures are made: the seven phases at a glance
Every commission runs through the same seven phases, in sequence: correcting a form in clay costs a day, correcting it in steel costs a week, and correcting it after the crane has left costs a season. The table below shows what gets decided at each stage.
| Phase | Key decision made there | What you receive |
|---|---|---|
| 1. Sketch and concept | Silhouette, scale and where the piece will be seen from | Concept sketches and a scale-of-view study |
| 2. 3D design and maquette | The exact finished form, dimensioned and measurable | Digital model and a physical scale maquette |
| 3. Engineering | Wind load, base size, anchor layout, foundation | Structural calculations and foundation drawings |
| 4. Material specification and cut | Alloy grade, wall thickness, sheet nesting | Cutting list and mill certificates |
| 5. Fabrication | Seam placement and weld sequence | Assembled, welded form |
| 6. Finishing | Surface direction and final gloss level | Polished, sealed sculpture |
| 7. Freight and installation | Lifting points, base setting, site tolerance | Installed, anchored artwork |
Step 1: Sketch and concept
The first phase is not drawing — it is looking. We start with the client’s brief, but we spend just as long on the photographs they send of the site: the approach road, the lobby, the plaza at 9am and again at 7pm. Those images tell us the viewing distance, the light direction and the neighbouring colours, and they shape the drawing far more than a written specification does.
A sculpture is not designed to be admired at arm’s length. It is designed to be read from thirty metres away by someone walking past, then rewarded at three metres by someone who stops. That double read drives the first sketches:
- Scale studies — the form is sketched into a photograph of the real site, at the real height, with people for reference. A shape that looks bold on a page can disappear against a building.
- Mood boards — finish, colour temperature and material character gathered alongside the client’s existing interiors, so the piece feels commissioned rather than imported.
- Silhouette tests — the outline is checked in black against a sky, because that is what most visitors will actually see.
We typically present three directions rather than one. Choosing between options is faster than perfecting a single idea that turns out to be the wrong one. Once a direction is agreed, we diagram the full sequence — our process from sketch to installation — so the client knows how many approval points are coming.
Step 2: 3D design and the maquette
A sketch is a promise. A maquette is a specification. This phase converts the agreed direction into something measurable, and it is where budget and structural reality enter the conversation.
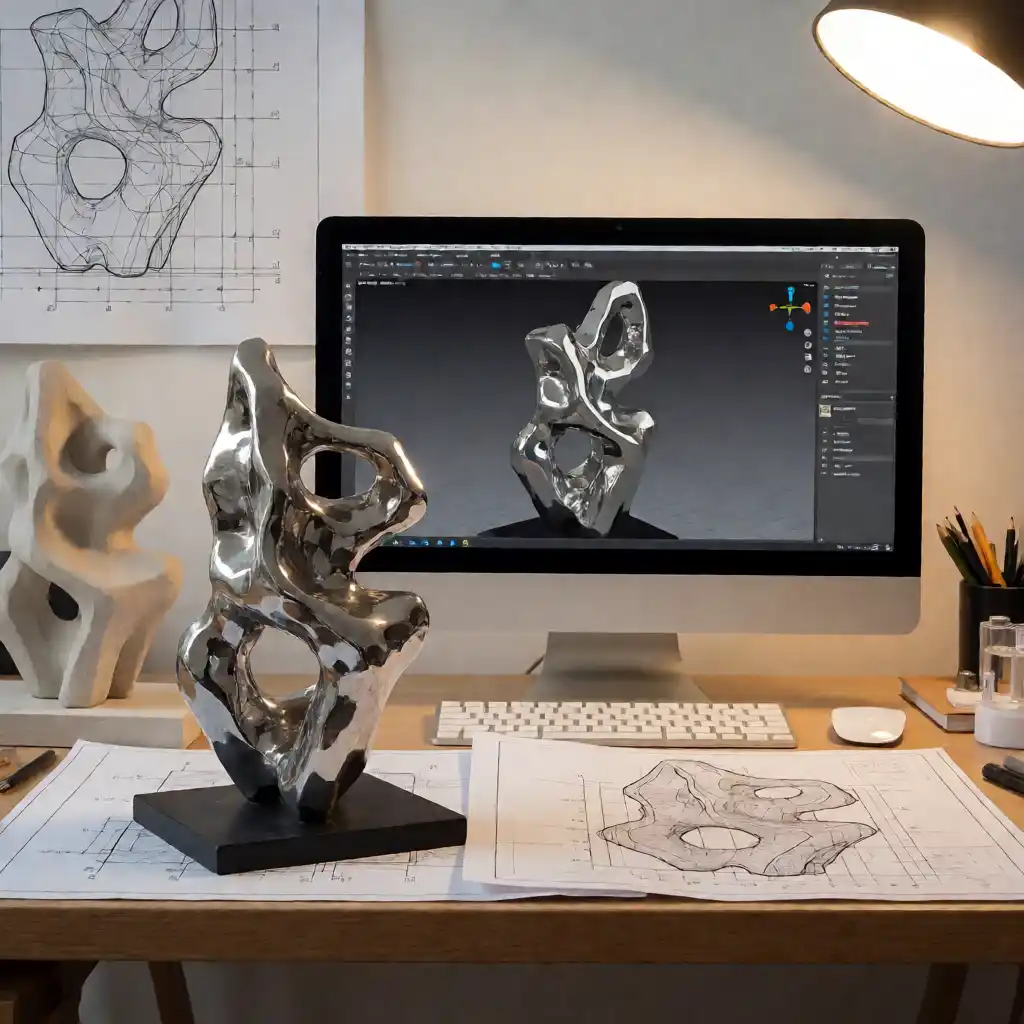
The form is built digitally first, usually in ZBrush for organic sculpture or Rhino when the geometry is architectural, then refined for fabrication. Surface continuity matters more than it does in a render: a highlight that ripples in the digital model will ripple in the mirror finish.
From the digital model we produce a physical maquette, normally at 1:25 for a piece of two to four metres and 1:50 for anything larger. Clients often ask why they cannot simply approve a render. There are three reasons:
- Mass and presence — a screen cannot show how much visual weight a form carries in a room. A maquette can, especially viewed from the intended distance.
- Hand-eye judgement — people judge an object far better than a flat image of one. Flaws invisible on a monitor are obvious in a model on a table.
- A common reference — the maquette becomes the contractual reference for both sides. What is approved in clay is what gets built in steel.
Revisions at maquette stage are expected and inexpensive. We allow two rounds within the quoted fee; a late change is rarely local, and moving a limb usually means re-engineering the base.
Step 3: Engineering and structural design
This is the phase clients underestimate, and the one that protects everything else. A stainless form is light and thin-walled; wind does not care how beautiful it is. For anything over roughly one metre on an exposed site, engineering is not optional — it is the difference between a landmark and a liability.
The engineer takes the approved geometry and works through four things:
- Wind load — calculated from the site’s basic wind speed, exposure category, terrain and the sculpture’s projected sail area, following a local code such as ASCE 7 or EN 1991-1-4. Our guide to wind loading on large stainless sculptures walks through the numbers on a worked six-metre example.
- Base design — whether the piece is bolted to an existing slab, grouted into a cast pad, or ballasted from above where no excavation is possible.
- Anchor bolt layout — bolt diameter, embedment depth and spacing, chosen so the uplift tension is taken either by the concrete mass or by the anchors themselves.
- Foundation drawings — issued for a locally licensed engineer to review and stamp against local soils and codes, which keeps the site’s approval process clean.
We supply design forces, reactions and connection geometry; the site-side engineer signs off. Nothing is cut until those drawings are closed, because the base is the one part of the sculpture that cannot be adjusted later with a grinder.
Step 4: Material specification and cut
Wall thickness is decided here, at the drawing board, not at the bench. It sets the weight, the cost, the weld procedure and how much the finished surface can be worked.
Two grades do almost all the work in outdoor sculpture:
| Grade | Typical use | Note |
|---|---|---|
| 304 | Inland, sheltered sites, interior work | Lower cost, excellent finish |
| 316 / 316L | Coastal, salt-laden or industrial air | Molybdenum content resists chloride pitting |
Sheet is specified by thickness — commonly 1.5 mm to 3 mm for sculpture, thicker where the form is structural or the finish is highly reflective. We then nest the parts across the sheet in software to minimise offcut, cut them on a waterjet or plasma table, and record heat numbers so every panel is traceable back to its mill certificate. For a deeper comparison of the two grades, read 316 vs 304 stainless steel for outdoor sculpture.
The cut is the moment the project stops being an idea. From here on, changes carry material cost.
Step 5: Fabrication
Fabrication turns flat cut panels into a continuous three-dimensional form — the most visible craft in the process and the phase most often judged by its weld lines.
Forming and bending
Panels are shaped on an English wheel, press brake or slip roller, and for compound curves, hand-planished over a former. We work to the digital model using templates cut from the same data, so the formed panel matches the maquette rather than approximating it.
Welding and seam placement
Joints are TIG welded — slower than MIG, but cleaner, with less spatter and a softer heat-affected zone that polishes out more predictably. Seams are not placed where they are convenient; they are placed by design:
- on a natural edge, a shadow line or a change of plane, where the eye already expects a break;
- away from the areas closest to the viewer’s eye level;
- in a sequence that balances heat input, so the form does not distort as it is welded out.
The goal is a weld plan that makes the finished surface read as one continuous form. A visitor should never be able to count the parts — only the shape. Because the weld is also the corrosion-critical joint, this is where alloy and filler choice matter most.
Step 6: Finishing
Finishing is where a well-built sculpture becomes a good one. It is also where a poor weld can no longer be hidden. Every step here removes material, so the order matters and nothing can be rushed.
Grind, shape and progressive abrasives
Welds are dressed back level with the surrounding surface, then the whole form is worked with progressively finer abrasives — typically from 80 grit through 120, 240, 400 and on to 800 and finer. Each stage removes the scratches of the previous one.
Polish and protective sealant
A mirror finish is always the last operation, and it is done slowly, by hand. Machine polishing generates heat that can smear the surface and burn edges on thin sheet, so the final passes are made by hand with felt bobs, checked under raking light rather than straight-on light. For a satin finish the sequence stops earlier and the direction of the grain is controlled deliberately. See the mirror-polished hotel lobby sculpture for how this reads in a lit interior.
The finished piece is then cleaned, passivated where required and sealed. On marine sites a clear protective coat is added and recorded, so it can be renewed on a schedule rather than discovered to be missing.
Step 7: Freight and installation
The last phase is logistics, and it is where a project that ran smoothly in the workshop can still go wrong. Planning starts weeks earlier, not on the day the truck arrives.
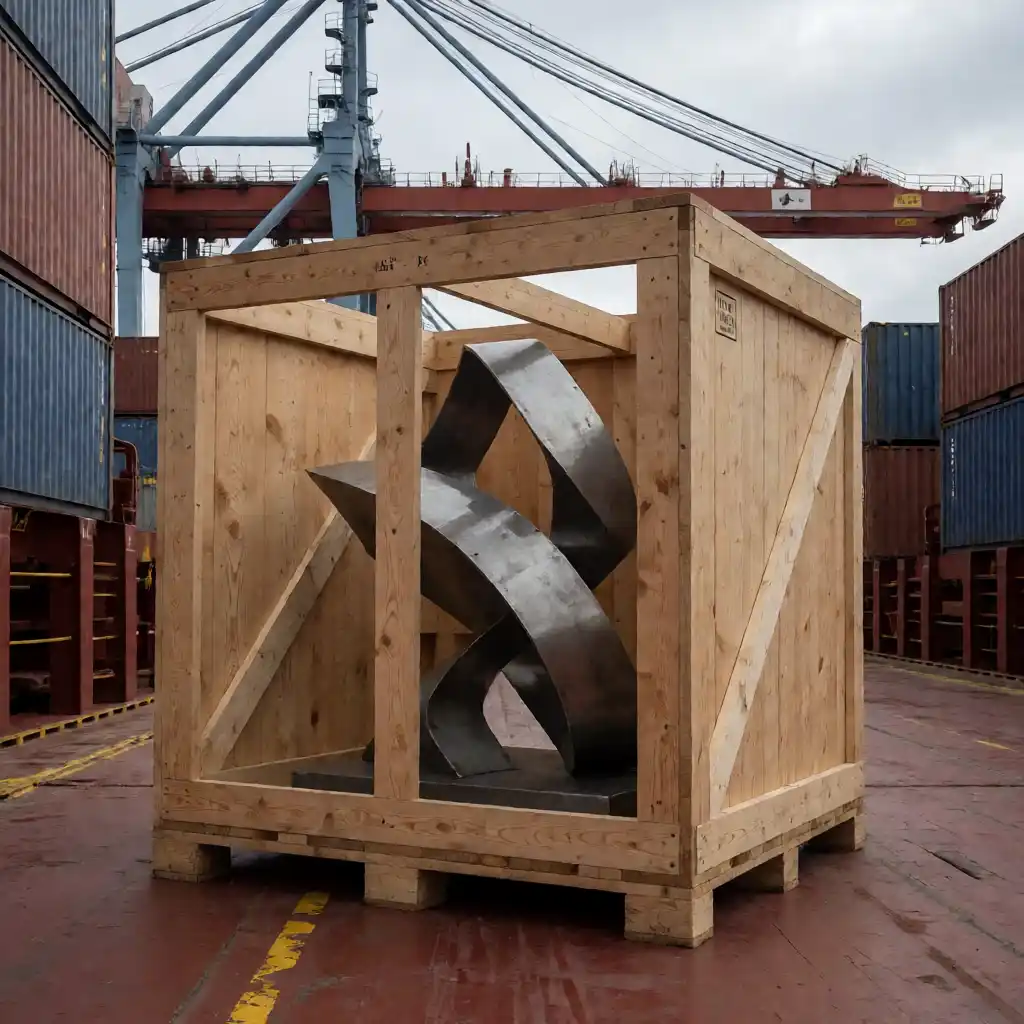
- Crating — custom steel-and-plywood cradles that support the sculpture at its designed contact points, never on the finished face.
- Insurance and documentation — transit cover, packing list, finish touch-up kit and the maintenance note.
- Crane day — lift plan, rigging points designed into the internal frame during fabrication, and a site survey confirming access, ground bearing and overhead clearance, plus any road permit or night lift window.
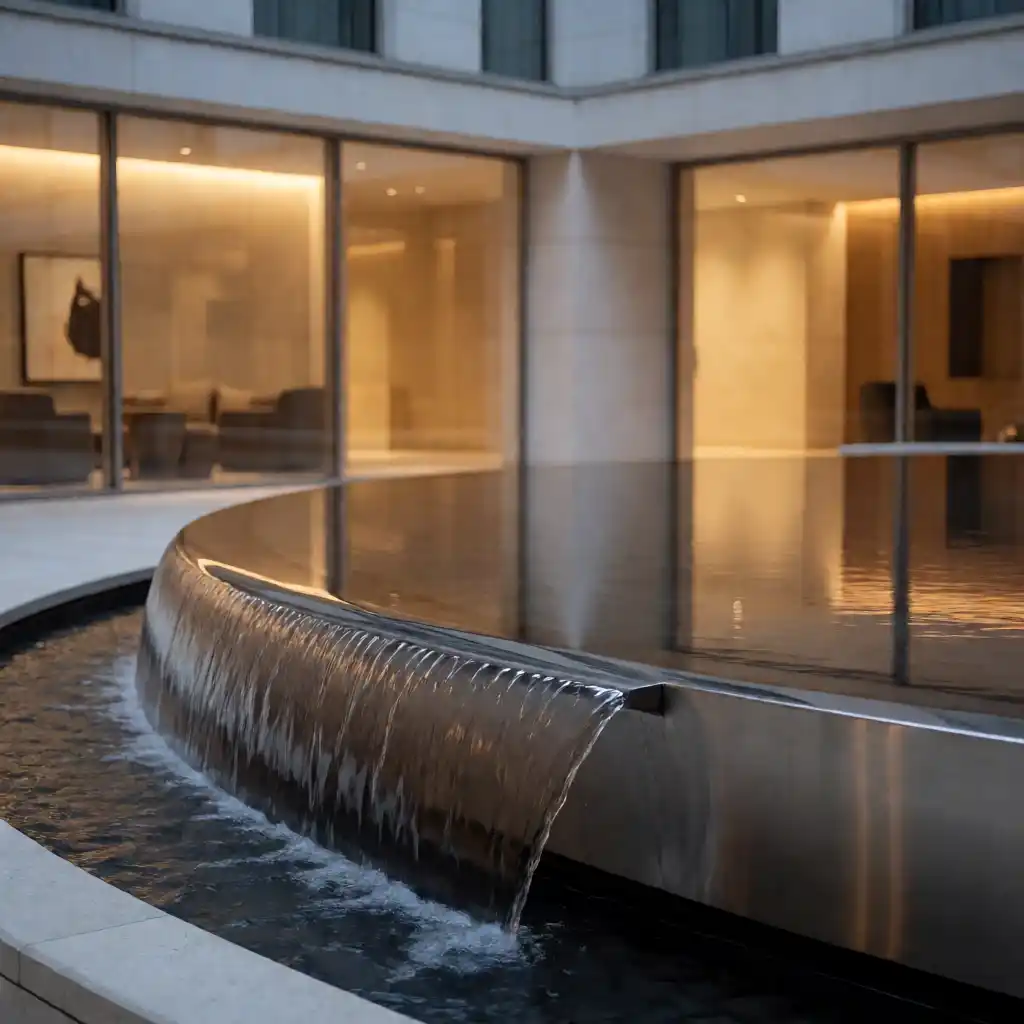
- Setting the base — the sculpture is landed on the anchors, checked for level and plumb, shimmed where the slab is not true, then the anchor nuts are torqued. See a live example in this resort pool fountain installation.
- Final site check — cover plates, sight-line review from the intended viewing points, protective film removal and a photographic handover record.
Install day is the day the sculpture stops being a product and starts being architecture.
How stainless steel sculptures are made to last for decades outdoors
Durability is decided by four quieter details built in along the way.
- Correct alloy for the air — 316 rather than 304 within about a kilometre of salt water, and in industrial or pool-chemical environments where chloride pitting is the real enemy.
- Closed or drainable internal structure — hollow forms need drain holes and ventilation. Trapped moisture inside a sealed stainless shell is the single most common cause of early corrosion in outdoor work.
- Weld quality and passivation — a sound TIG weld, cleaned and passivated, resists corrosion at the joint as well as the panel. Weld heat tint left in place is where rust usually starts.
- A finish that can be maintained — the gloss level should match the site. A mirror finish needs periodic cleaning to stay a mirror; a satin finish forgives more.
A well-specified stainless sculpture outdoors is a 25-to-50-year object on a light maintenance cycle: an annual wash, a periodic inspection of the base and anchors, and a recoating interval recorded at handover.
Timeline and what drives it
The honest answer to “how long does it take” is that approval cycles, not fabrication, are usually the long pole. What stretches a project is a design committee, a site-side engineer’s queue, or a foundation that has to be verified before anchors can be ordered. More guides on material choices, timelines and finishes are collected in the journal.
| Step | Typical duration | Who approves | Common delay cause |
|---|---|---|---|
| 1. Sketch and concept | 1–2 weeks | Client or design lead | Brief still changing; site photos not yet supplied |
| 2. 3D design and maquette | 2–4 weeks | Client, plus any committee | Late revision rounds after the maquette is shipped |
| 3. Engineering and structural design | 1–3 weeks | Site’s licensed structural engineer | Engineer availability; unverified existing slab capacity |
| 4. Material specification and cut | 3–10 days | Studio, with client sign-off on grade | Grade changed late; mill delivery lead time |
| 5. Fabrication | 2–6 weeks | Internal QC, client review if requested | Scope creep after cutting; re-forming a distorted panel |
| 6. Finishing | 1–3 weeks | Client on finish sample and final gloss | Gloss level revisited after polishing has started |
| 7. Freight and installation | 1–2 weeks | Site manager and crane contractor | Crane access, permits, weather window, base not ready |
Add the durations together and a straightforward inland piece lands around six to eight weeks of studio time, with another two to six weeks of client and engineer turnaround. Coastal, oversized or publicly funded work sits at the far end of every range. Our commissioning enquiry process gives you a dated schedule against your site.
Have a project in mind?
If you have a site, a height and a rough idea of the effect you want, that is enough to start. Send us the location, a few photographs of where the piece will stand and the height you are working towards, and we will come back with a concept direction, an indicative budget band and a dated schedule. We can also tell you early whether the site will need stamped engineering and a cast foundation — the single question that moves a timeline most. Request a quote for your stainless steel sculpture and we will take it from there.
More from the Workshop

Have a Project in Mind?
Send your brief and get a free, honest quote within 24 hours — no obligation.
Request a Quote